
How to make a Facebook Page for Your Small Business

Local awareness and visibility are crucial for your small business to succeed, and with over 235 million American’s on Facebook, having a Facebook Business Page gives you the ability to reach and engage with your community.
Best of all, setting up your own Facebook Business Page is simple, free and unlocks great opportunities to drive your acquisition and retention efforts. We put together this step-by-step guide to help you set up your Facebook Business Page with ease.
Getting started
It’s easy to set up your own Facebook Business Page; simply start by first logging into your personal Facebook account. If you don’t have a personal Facebook account, you can easily create a dummy one. Don’t worry; if you want to keep your private life separate, Facebook ensures your personal and business pages remain independent with no connection from a customer viewpoint.
The next step is to create your new Business page. To do so, click on the + symbol in the top right of Facebook’s horizontal navigation. You will see a Create dropdown list appear with various options; select the Page option. You can also navigate directly to facebook.com/pages/create.

Setting up your business page
From there, we will guide you through the steps to setting up your business page. Start by filling out your page description with a name for your business page, then add up to three categories and a short description. Your description should be a brief yet informative overview of your business to provide visitors with a quick glimpse about your company.
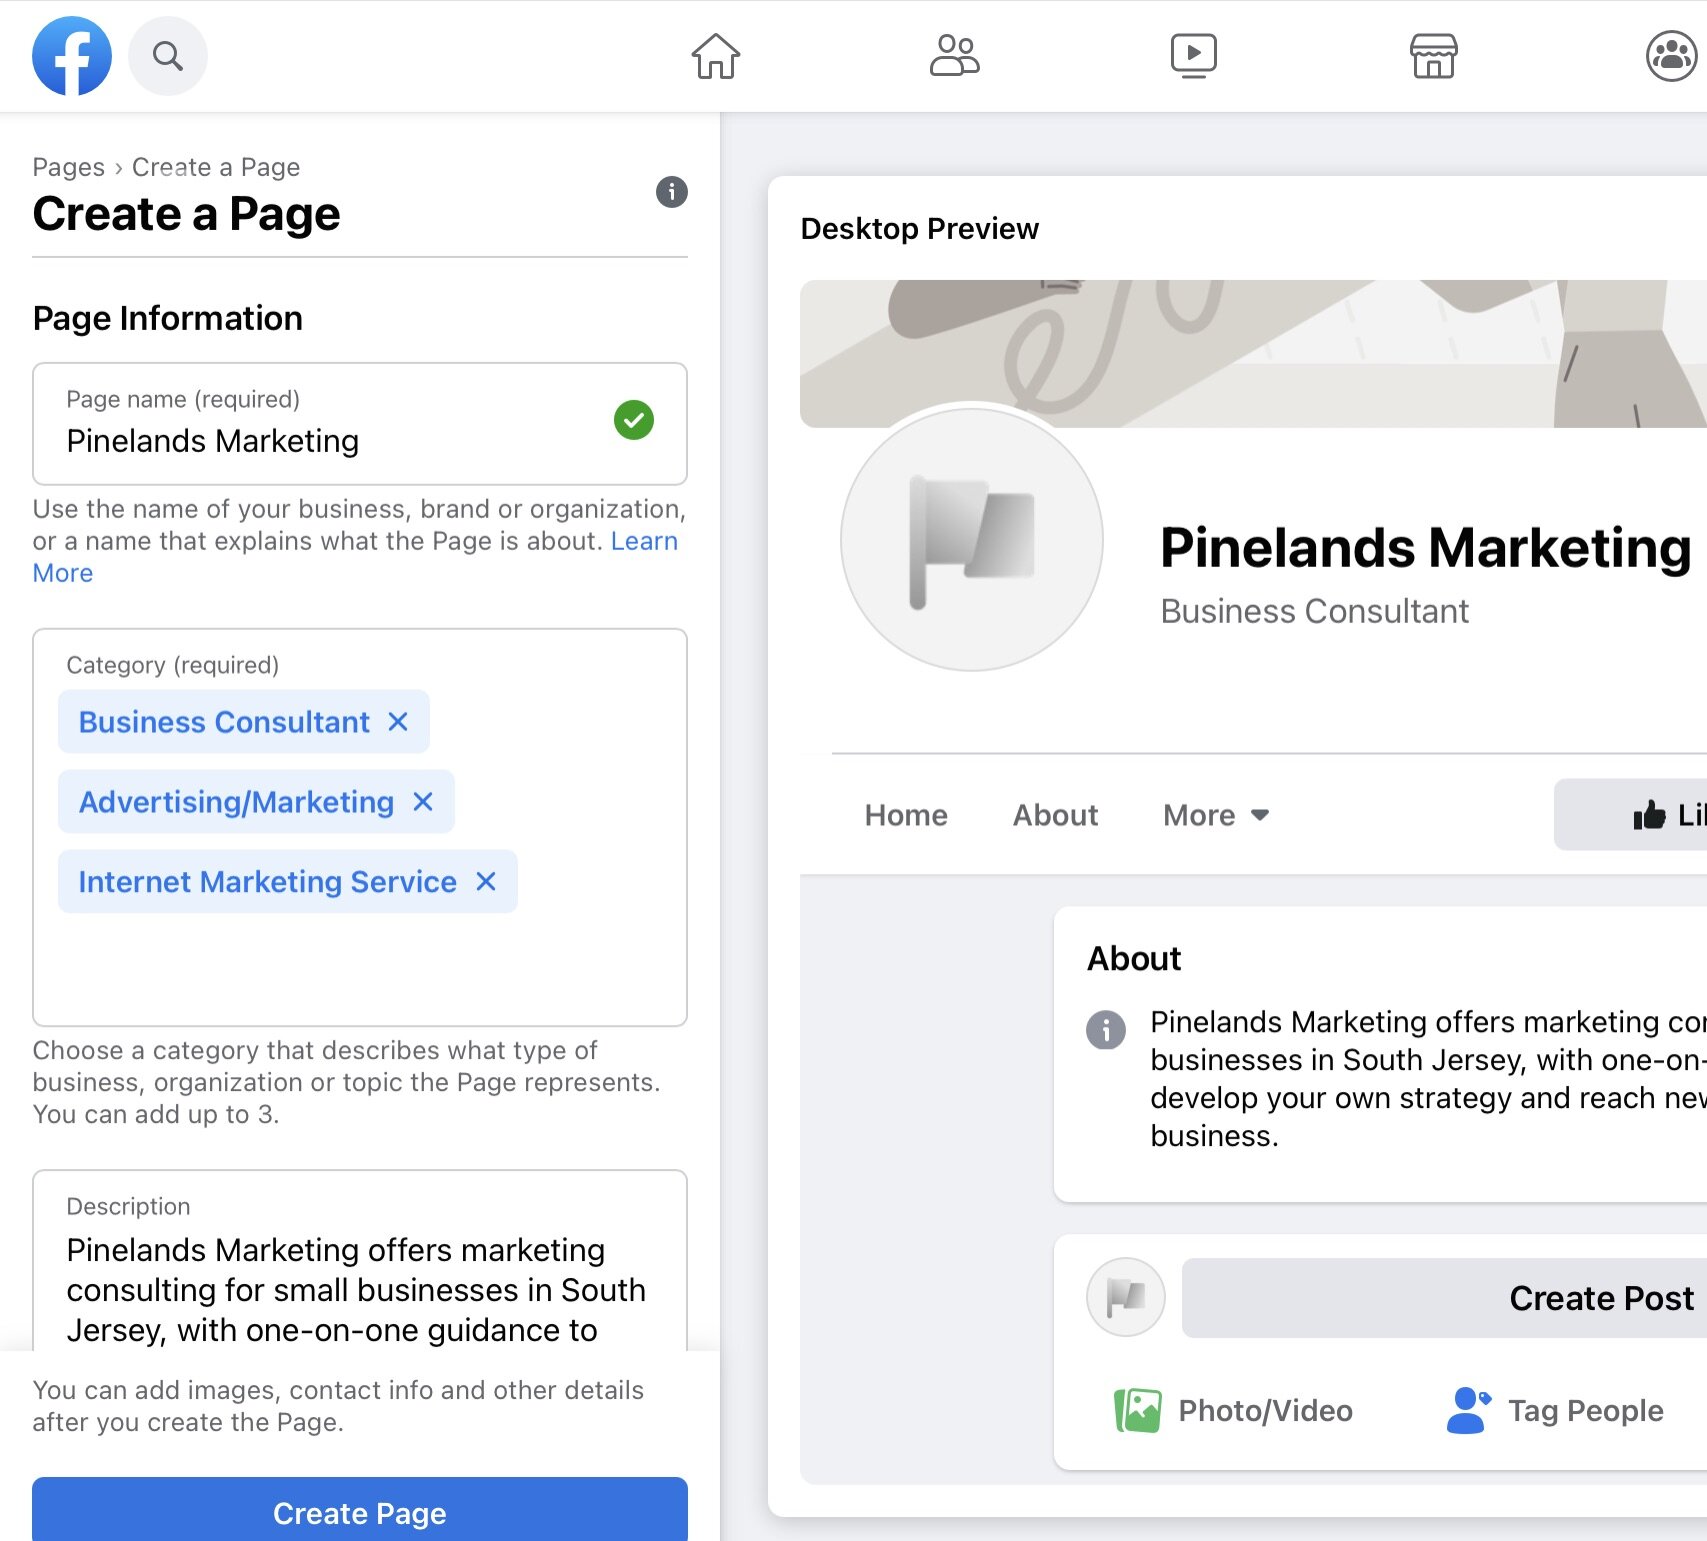
Once you’re ready, hit the Create Page button at the bottom; your new business page has now been created. Next, you will see the option to Add Profile Picture; generally you want to use your company’s logo, which will drive brand awareness. Your profile picture will be what prospects and customers see first, so spend the time to choose the right photo that shows up clear and just how you want it.
The next image to upload is a Cover Photo; this is the photo that is shown at the top of your business page. Your cover photo is a great place to showcase your brand. Choose a lifestyle image that spurs curiosity and excitement about your products or service. If you have a restaurant, choose the best image of your dining hall or your top meal. You can even choose a video or create a slideshow with a series of images. Whatever you choose, make sure your image is clean and showcases your brand personality well.

It’s also important to get the size right; the ideal size for a cover photo is 820 x 312 pixels for desktop, and 640 x 360 pixels on mobile devices. If you don’t have a graphic designer, don’t worry. Start by uploading your photo and adjusting as needed; you’ll notice that you can shift the image around with your mouse to fit how you want.
Test and check the image on your computer and mobile phone to ensure it looks ideal. Seek feedback from colleagues and friends to gain their impression from your page at first glance. Remember, you can change your cover photo at any time by hovering over it and clicking the camera icon that appears in the bottom right; you’ll notice the option to reposition your image as well.

Filling out the details

Once you’ve uploaded your profile and cover photos, the next step is to fill out the rest of your business page with additional details and contact information. You may be greeted by Facebook a pop-up like the one above that outlines the important next steps. Close that out for now, as we’ll walk through what you need to do step-by-step.
Add a Button

To start, look for the + Add a Button blue icon to the right of your profile picture. Once clicked, an Edit Page Button pop up will appear with a range of options for you to choose. This button is very important as it’s the first call-to-action incoming prospects will see on your business page.

We recommend selecting the Follow option since your page is new and it’s important to build up your followers to produce credibility. As your page matures and you have a solid number of followers, revisit this button and consider changing it to Call Now, Contact Us, Learn More or Shop Now.
Set Your Page up for Success

Next, you want to add more detail about your business. As you scroll down, you’ll see a Facebook driven section, titled Set Your Page up for Success. Three options will appear, where the top one, Establish Your Page’s Identity, should be reflected as completed. For the second option, Provide Info and Preferences, expand by clicking the caret symbol to the right.
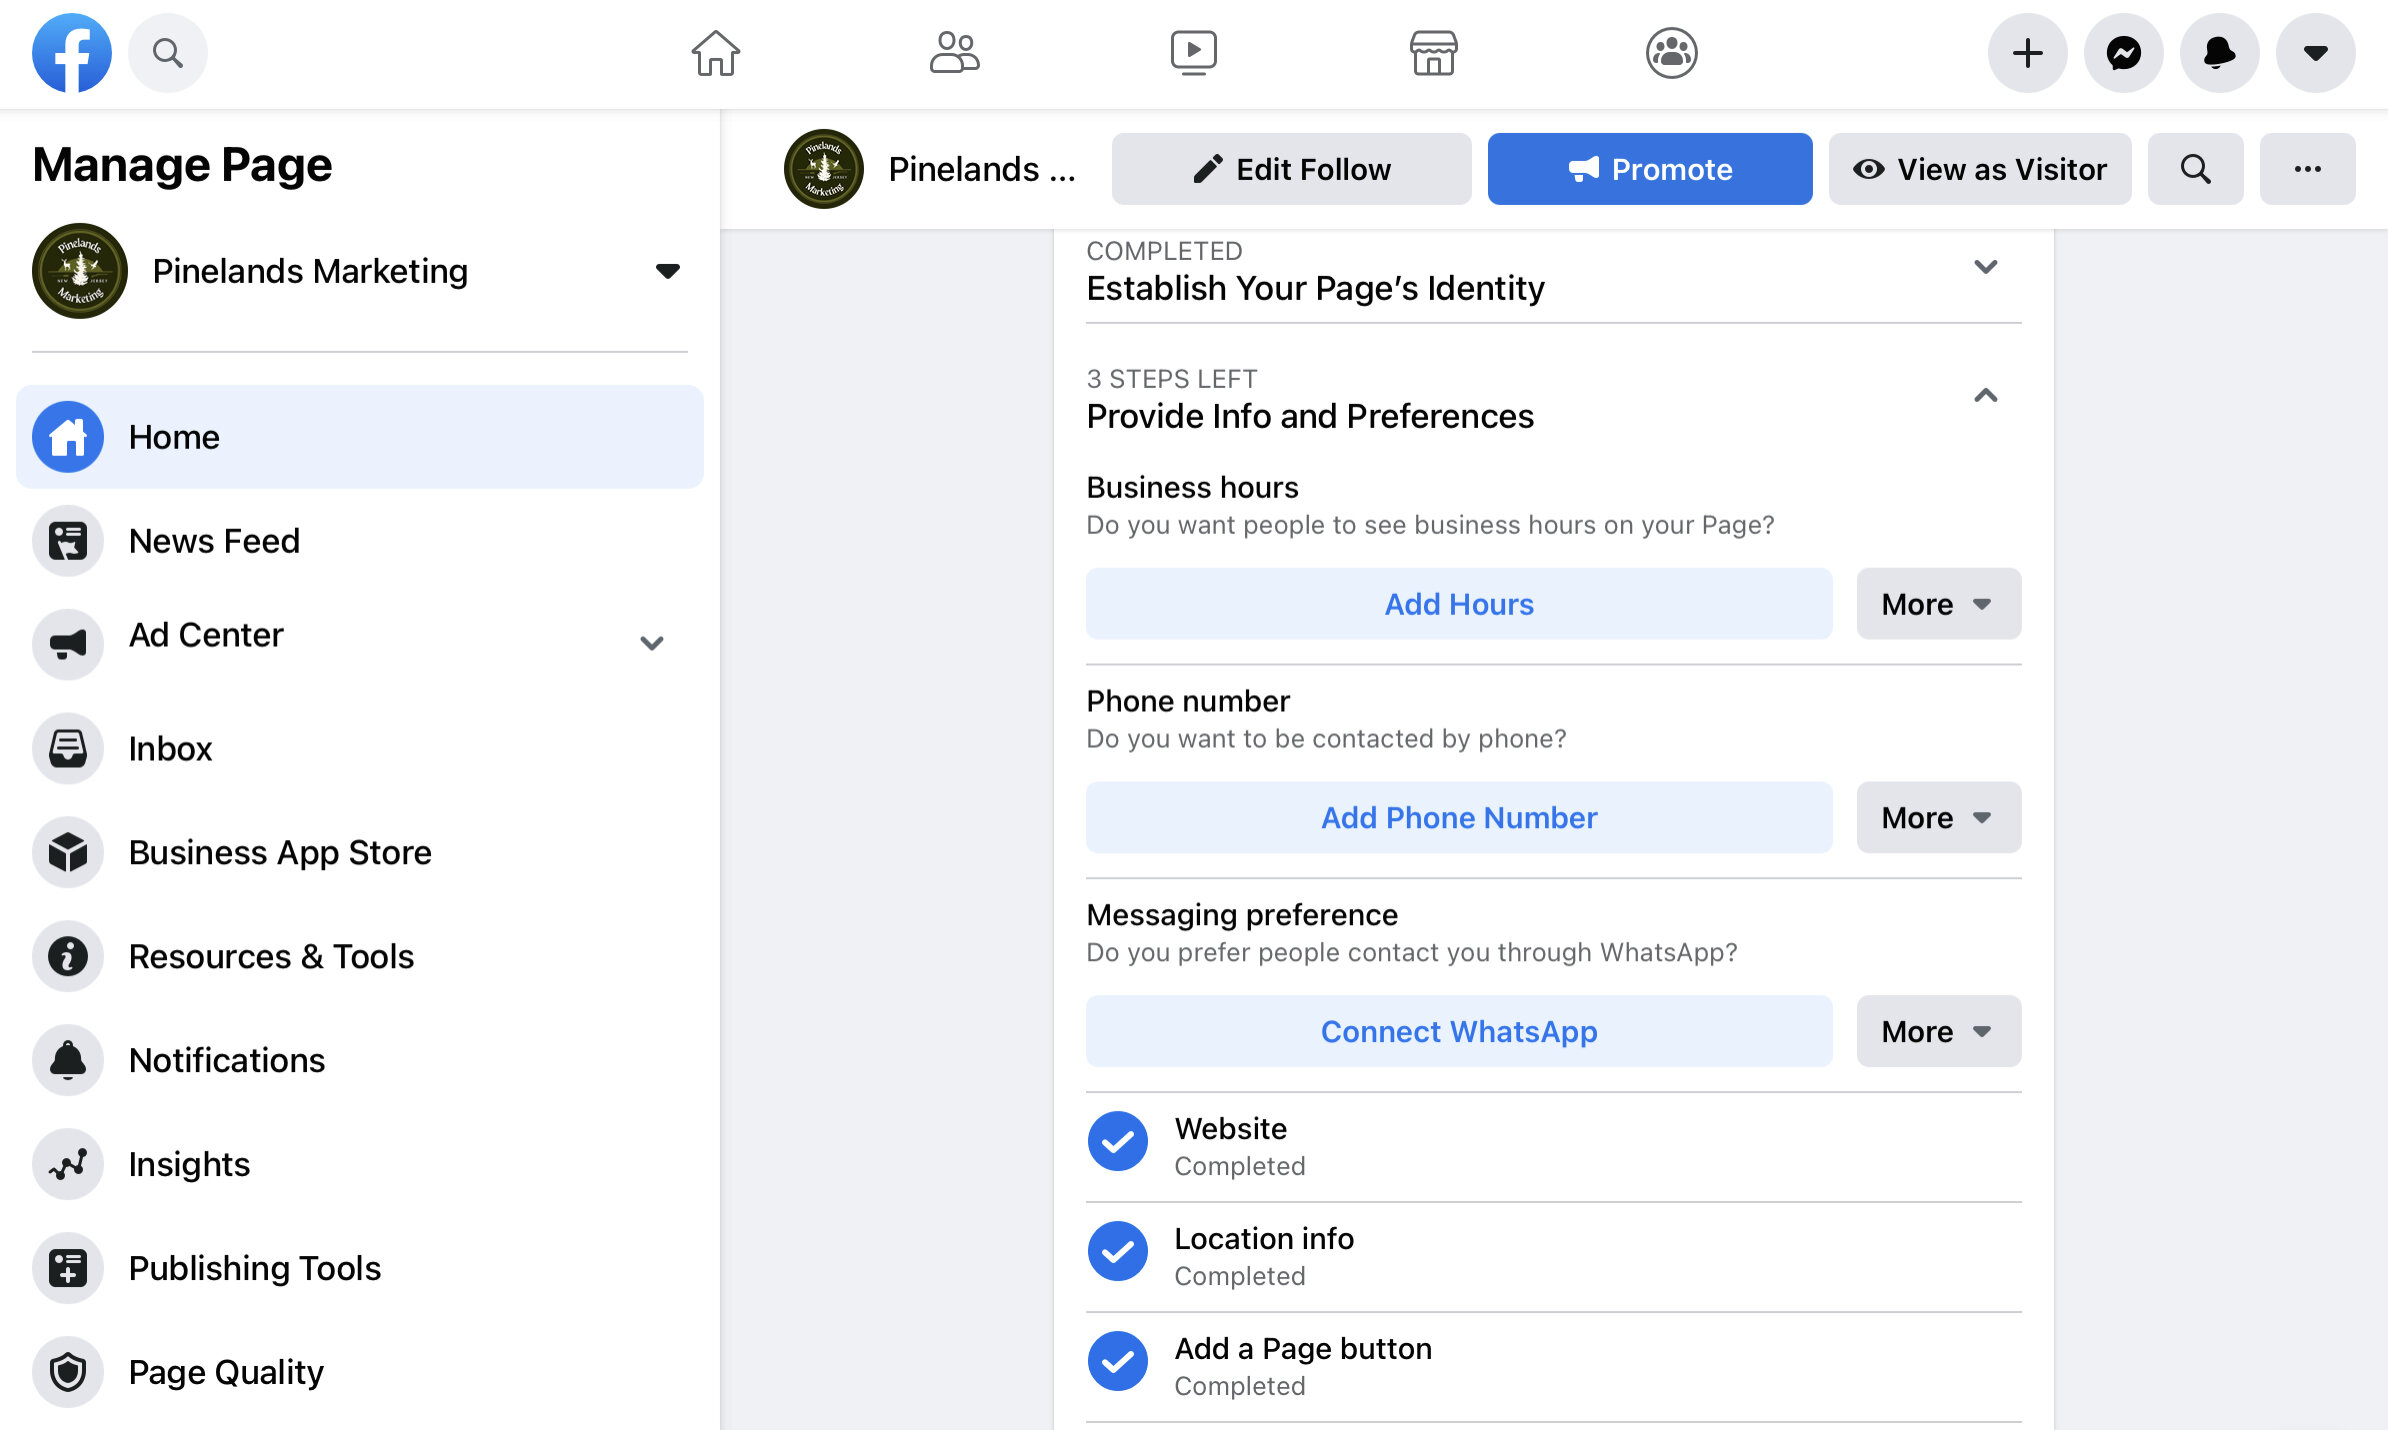
Six options will appear, starting with Business Hours. Click Add Hours and follow the prompts to fill out. Facebook allows you to set up select business hours or even have it reflect always open. Keep this in mind during holidays when your hours may change; you’ll also want to make a post of any changes to hours to avoid confusion and keep your customers up-to-date.
Fill out the remaining info and preferences, including phone number, website and location info. There’s also the option to connect your page to WhatsApp, although we don’t think that’s necessary unless you’re an avid WhatsApp user.
Introduce Your Page

The final step is to Introduce Your Page. The best way to do this is by inviting your friends, which is an easy way to build your page followers and gain credibility. Simply click on the Invite Friends button, where you’ll be greeted by a pop up of all of your friends on your personal account. You can select friends individually, search for friends or select all of them by clicking the Select All option.
You also have the option to send invitations to your invitees in Facebook Messenger as a way to gain more exposure; simply click the Also send each invite in Messenger at the bottom of the pop up before you click Send Invites. Once you’ve selected your friends to invite, click the Send Invites option at the bottom; all of your invitees will receive a notification prompting them to follow your new business page.
Learning the Nav
Now that your page is set up with the basics, the next step is to understand the navigation, as it offers great resources for managing your page.
Home
The first option you’ll see is at the top of the nav is Home, which you can use to see the overall view of your page. Facebook will often have helpful tips and reminders to improve your page’s performance. You can view and make posts, review basic insights and edit your page’s About info. If you’re curious how your page looks from a customer’s standpoint, click the View as Visitor button to the right of your page and a new viewpoint will appear.
News Feed
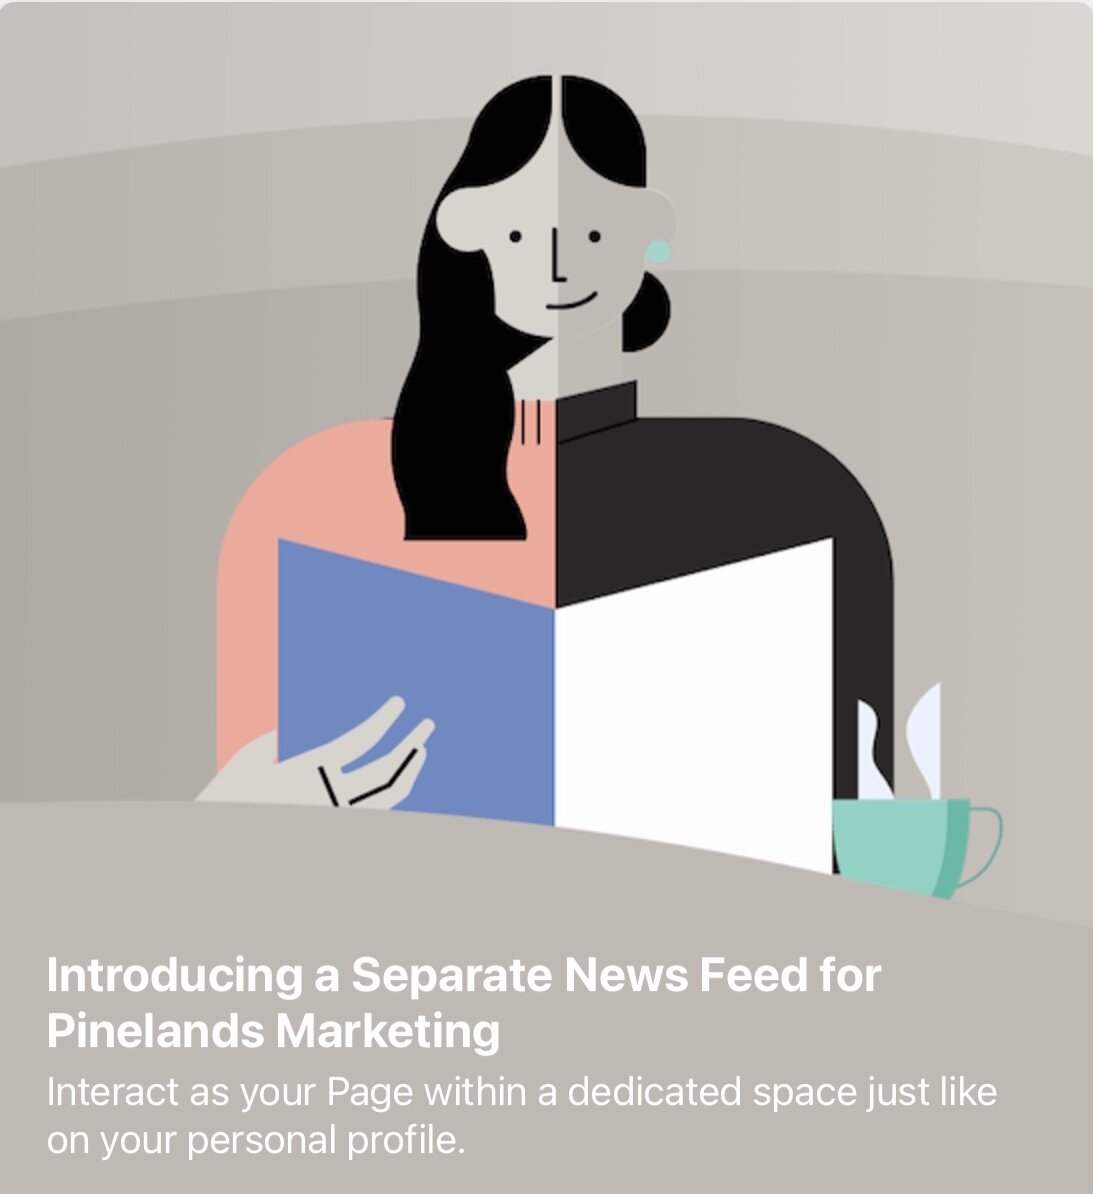
The next option is News Feed, which is a separate and dedicated space just like on your personal profile, where you can interact as your Page. You can choose who you keep up with and see more useful content by following Pages and public figures that are relevant to your business.
Facebook will recommend relevant content to provide inspiration for your page. Follow local institutions to keep up with the community, like schools, townships or volunteer organizations. You can also follow competitors to keep tabs and react to what they’re up to.
Ad Center

The next option in the nav is the Ad Center, which is where you can create, edit and view results for all of your ads. You can set your ad preferences, create saved audiences to reach specific groups of people, manage your payment methods and view receipts. We’ll dive into how to make great, effective Facebook ads in a subsequent post, but Facebook also offers a great introduction guide on how to create your first ad.
Inbox
Messages sent to your page will be available in your inbox, as well as comments and engagements to your posts. Messages sent to your business page via Facebook Messenger will also appear here. If you have a business Instagram page, you can even sync it to receive Instagram messages in the same inbox as well. To sync your Instagram account, click on the Instagram icon in the left navigation within your inbox. You will then be greeted by a message to Connect an Instagram account; click Connect Account and login to complete the sync.
Business App Store

Facebook recently rolled out their Business App Store, which allows you to expand the capability of your business by connecting to a series of apps. Make it easy for people to make appointments by connecting to an appointment app like Square. Give people an easy way to make reservations by connecting to a reservation app like Resy. You can even sell products on Facebook and Instagram within your pages, profiles and ads by connecting to an app like OpenCart.
Resources & Tools
Facebook also offers a place for you to explore all of the tools and resources that you can use to help your business page. Create new offers, sell gift cards or set up fundraisers to move your business forward. You can also view success stories of other small businesses on Facebook, as well as learn best practices through an array of tips.
Manage Jobs
Reach people looking for jobs on Facebook by creating new job openings for your business. Add your job opening details, salary range, and even include screening questions for aspiring applicants to answer. You can set it up to receive applications directly to your email, and also adjust the settings to require past employment or resumes to be included with the application.
Notifications
You’ll receive updates on all engagements to your page in Notifications. Facebook also provides helpful tips, although more than often they usually are just trying to push you to pay to boost posts to increase exposure, which is not a bad idea but we recommend you invest your money in actual ads instead.
Insights

Learn more about how your business page is doing with metrics on your page’s performance to understand how people are engaging and which posts are driving the most interaction. You can also compare and watch similar pages on Facebook to see how their posts are performing and keep tabs on their marketing efforts.
Publishing Tools

Facebook gives you the ability to create drafts and schedule posts in advance to publish to your page. Set it and forget it, or have your team create drafts for you to review and approve before publishing. Facebook also offers creative tools like the Creator Studio and Sound Collection to craft the perfect marketing communication.
Page Quality
This tab is one you’ll visit the least, and will only grab your attention if something is wrong and a notification is reflected. Page Quality is where you can see if your page has any restrictions or violations, and also includes Facebook’s community standards.
Edit Page Info

If you ever need to make updates to your page information, simply click Edit Page Info. Here you’ll be able to update your page description, categories, contact and location information and hours of operation.
Settings

Perhaps the most important option in the navigation is Settings, where you have the option to determine how people can interact with your page. Facebook offers a range of privacy settings for you and your team to ensure the right people can make necessary changes to your page.
You can also set up automated greetings and responses when people send your business page a message. Simply click the Messaging option under the Settings navigation and scroll down until you see the section, titled Starting a Messenger Conversation. Click the first option, Show a greeting, which will greet people in the chat window before a message is sent or in the About section.
Keep scrolling down and you’ll see the next section, titled During a Messenger Conversation. Click the first option, Set up automated responses, to customize responses that are automatically sent to people when they send your business page a message. This is a great way to provide prospects and customers quick and easy answers to improve their experience.
Free Facebook Business Tools
Facebook offers the ability to sell your products, add appointment bookings and showcase your menu, all for free. To explore these options, click on the Home option in the navigation and then scroll down until you find the Free Facebook Business tools section.
Sell Your Products

The first option you’ll see is Sell Your Products, which allows you to set up a shop within Facebook by connecting to your existing catalog or creating a new one to sell your products. You’ll be able to choose your checkout method to have customers complete their transaction either on your website, on Facebook or in Facebook Messenger. Then you’ll provide business details to ensure everything links up to your business account.
Add Appointment Bookings

The second option you’ll see is Add Appointment Bookings, which allows you to display your services and availability so people can book an appointment. You’ll start by setting up available dates and times to book, along with the services people can book. To finish, you’ll be able to set up automatic appointment confirmations and reminders to customers who booked.
Showcase Your Menu

The third and final option you’ll see is Showcase Your Menu, which allows you to upload your menu to make it easy for people to view. Select your dining options, either dine-in, pick up or delivery, and you can add additional details like food type and payment methods.
Final Step: Start Posting
Congratulations! Your Facebook Business page is now all set up. Now the time is to begin posting on a regular basis to showcase the personality of your business. Content is king, so if you have a blog or videos to share, start with those. Look at what your competitors are doing to formulate ideas on what to post. Think about how to create posts that engage your page visitors to interact, like contests. In one of our upcoming blogs, we’ll explore great ways to drive engagement through Facebook posts.
In Conclusion
If your small business is not on Facebook, you’re missing out on free exposure to drive both acquisition and retention for your business. Grass roots efforts are imperative to building brand awareness and loyalty, and Facebook offers a great option to do just that. Facebook even offers easy ways to sell your products, take appointments and keep tabs on your competitors.
Once you have your Facebook Business Page set up, the next step is to become active by setting up daily or weekly posts to share the personality of your business and educate about your products and services. We’ll dive into this more in one of our upcoming blogs.
The final step is to set up Facebook ads to drive conversions. Keep an eye out for our next blog post on how to set up Facebook ads, as they offer a great way to advertise to your ideal customer base in a highly targeted way.